
Soil Testing
Accredited soil testing lab — NPK, pH aur micro-nutrients ki accurate jaanch ke saath crop-specific advisory, taaki har khaad aur har paisa sahi jagah lage.
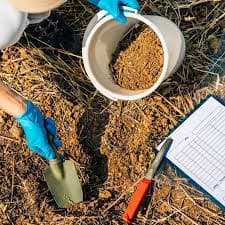
Soil Sample Collection
🌱 Soil Sampling (Mitti Ka Namuna Sangrahan) ek scientific technique hai jiske madhyam se khet ki mitti ka sahi namuna lekar uski fertility, nutrient status aur soil health ka assessment kiya jata hai. Sahi soil sample hi accurate soil testing aur fertilizer recommendation ka aadhar hota hai.

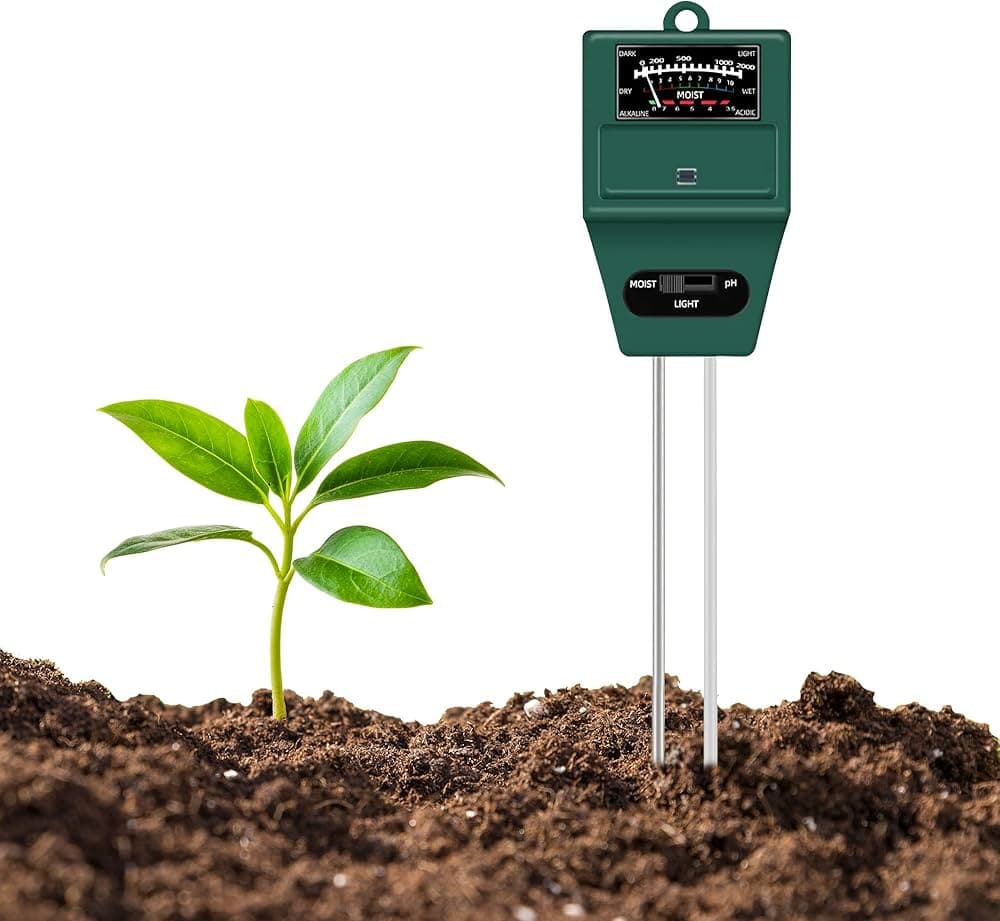


Need help choosing the right soil testing solution?
Our experts offer a free consultation tailored to your needs.
What is Soil Testing? (मृदा परीक्षण)
Soil testing is the scientific analysis of a soil sample to find out its nutrient content, pH level, salinity and other physical, chemical and biological properties. It tells you exactly what your field has — and what it's missing — so you can choose the right crop, the right fertilizer and the right quantity. Healthy soil is the foundation of profitable farming: plants need 16 essential nutrients at optimum levels to grow well.
| Category | Nutrients | Role |
|---|---|---|
| Non-fertilizer nutrients | C, H & O | Available from air and water |
| Primary macro-nutrients | N, P & K | Needed in large quantities through soil |
| Secondary macro-nutrients | Ca, Mg & S | Smaller amounts, vital for growth |
| Micro-nutrients | Zn, Cu, Fe, Mn, Mo, B & Cl | Tiny amounts, big impact |
Why is soil testing needed?
- Know the exact nutrient status (N, P, K + micro-nutrients) of your field
- Choose the right crop for your soil type
- Apply the right fertilizer in the right quantity — save money, avoid overuse
- Identify and correct problem soils (saline, alkaline, acidic)
- Track soil health season after season with a Soil Health Report
When should you test?
Send your sample about a month before sowing so the report reaches you in time. Test pH, EC and organic matter every season, and major + micro-nutrients every 1–2 years.
Sampling depth
Grains, pulses, oilseeds & vegetables: 0–15 cm and 15–30 cm. Soil reclamation: up to 90 cm in layers. Orchards: separate samples up to 180 cm depth.
How to take a soil sample — step by step
Divide the field into uniform parts by slope, colour, texture and crop — one sample per acre is ideal.
Walk in a zig-zag pattern and mark 15–20 spots across the field.
Clear grass, stones and crop residue from each marked spot.
Dig a V-shaped pit about 15 cm deep at every spot.
Scrape a uniform 2.5 cm thick layer of soil from top to bottom of the pit wall.
Collect all the soil in a clean plastic bucket or tray and mix thoroughly.
Spread the mix, divide into 4 parts, discard two opposite parts — repeat until about 500 g remains.
Fill in a clean cloth/poly bag with a label (name, field, crop, date) and send it to the lab.
Standing crop? Take samples from between the crop rows — never right where fertilizer was recently applied.
Important precautions
- Don't collect samples from wet soil — dry them in shade first if unavoidable
- Avoid spots near roads, bunds, trees, channels, manure heaps or fertilizer bags
- Don't sample right after rain, irrigation, fertilizer application or residue burning
- Never use rusted tools for sampling
- Sample about one month before sowing so the report arrives in time
Apne khet ki mitti ki jaanch karwayein
We test 14 soil parameters, explain the report to you in simple language, and give crop-specific fertilizer recommendations.
Book Soil Test on WhatsApp